
FAMILY CLAY SUNDAY

OPEN STUDIO
RAKU
WHEEL THROWING
")
HANDBUILDING CLASSES


")


Social Media
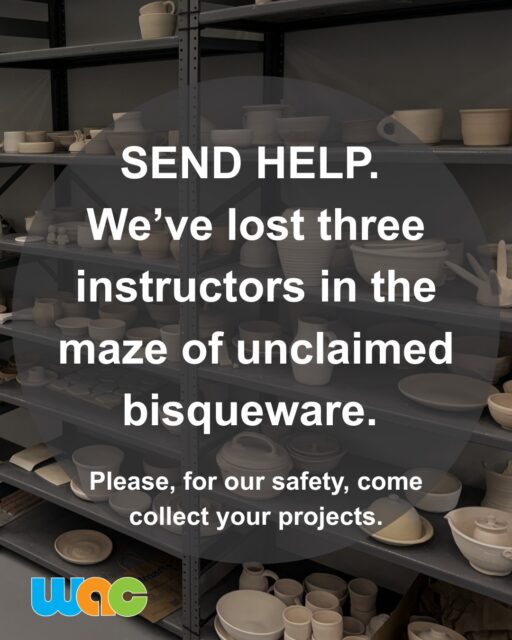


No instructors were harmed, but the pottery is out of hand! Come pick up your projects! We are open from 10 am till 8 pm, Mondays through Saturdays. #WillametteArtCenter #WorkInProgress #SalemArtists #PotteryNerds #ThirdSpace
12 hours ago

Our wonderful instructor, Andrea, is back with the ever popular Everything Glaze Class! Each week, you’ll explore an entirely new glazing technique—from intentionally running glazes to sgraffito, underglaze transfers, screen printing, and more! Classes start next week and are offered on Tuesdays and Saturdays. Sign up on our website while there are still spots available! #willametteartcenter #ceramicglaze #artclass #artcommunity #glazechemistry
20 hours ago

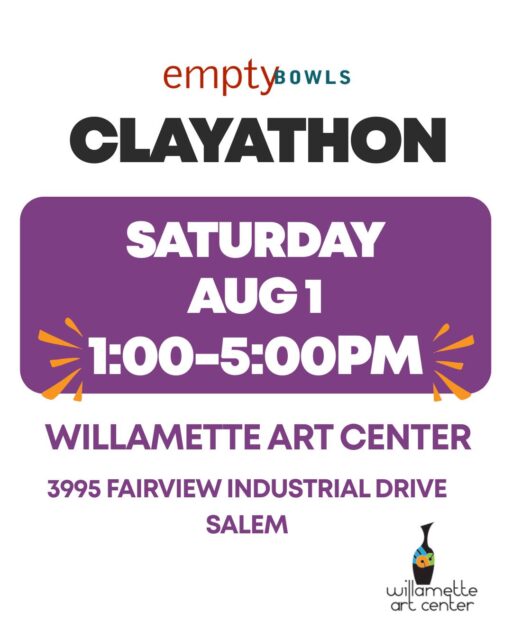
Food, music, making and community! That's what our Clayathons are all about. Whether you're a hand building potter, a wheel thrower or a combination of both, we'd love for you to join us. Clay, glazing and firing are on us. Tools and your kind, volunteer spirit are yours to bring. See you Saturday!
2 days ago

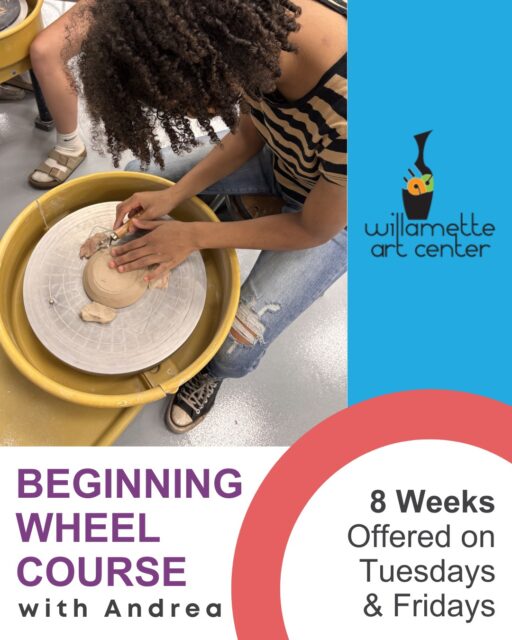
Warning: This class may result in a sudden obsession with handmade mugs. ⚠️☕ Join Andrea for an intro to wheel-throwing! No experience? No problem. Andrea will guide you from total beginner status to confidently building your skills. Come learn the basics, make a mess, and create something beautiful. Tuesday afternoons from 1:30 to 4pm. Classes run August 4th through September 22nd. Visit our website or tap the link in our bio to register before spots fill up! #PotteryClass #WheelThrowing #CeramicsArt #GetYourHandsDirty #WillametteArtCenter
2 days ago
Our Supporters


